
Tender and light as air, chiffon cake is one of my favorite cakes to eat because it’s so light and fluffy. It has a delicate, soft texture that’s pillowy soft and just melts in your mouth. Today we are going to make and decorate a Raspberry Chiffon Cake!
I made some raspberry jam myself, but you can also use store-bought. I’ll provide the link on how to make raspberry jam in description below.
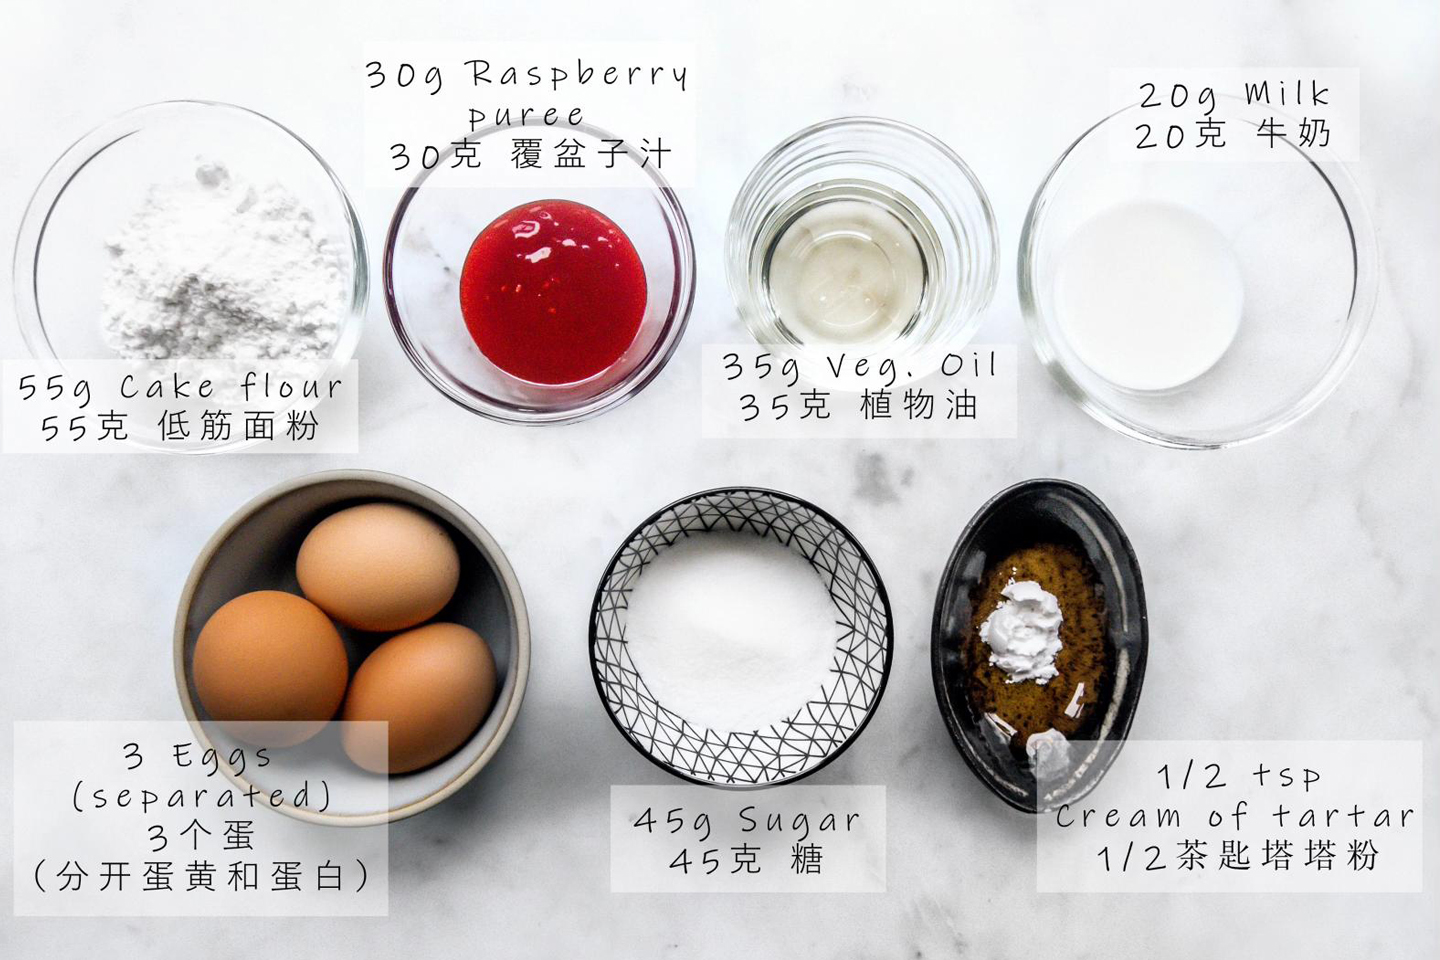
Let’s get started! These are the ingredients for the cake:
First mix the oil and flour.
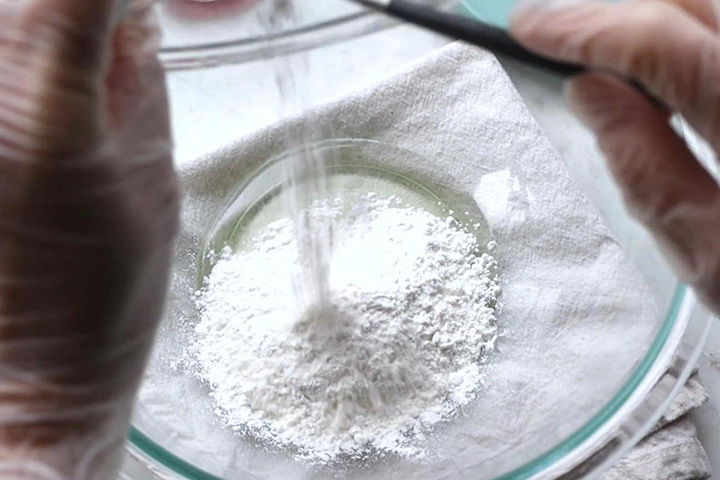
First combining the oil and flour is simple and won’t develop gluten. You can stir it any way you want, and you don’t have to sift the flour neither.
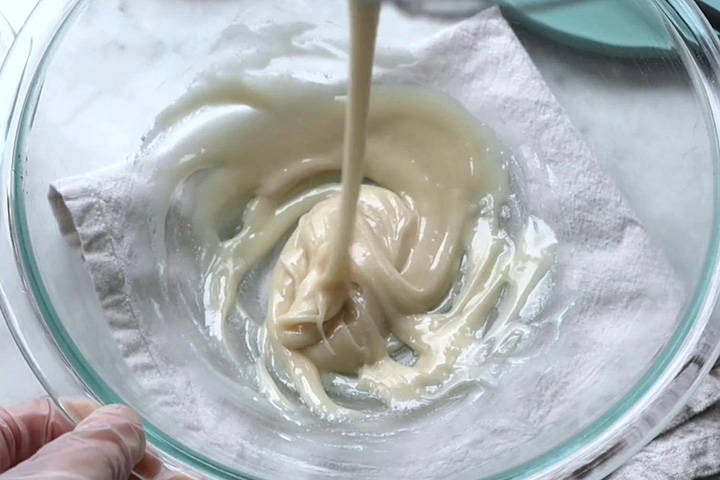
Now add the milk, egg yolks, and raspberry puree. Stir until all well-combined.


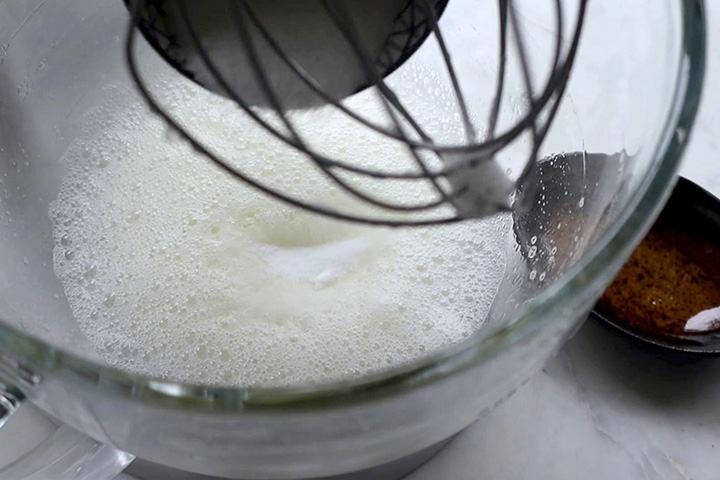
Now let’s whip the egg whites. Add cream of tartar to the egg whites and beat on high speed. Cream of tartar can stabilize the meringue. If you don’t have it, you can add a small teaspoon of lemon juice/vinegar instead. You can also use a hand mixer for this, both methods will work just fine.
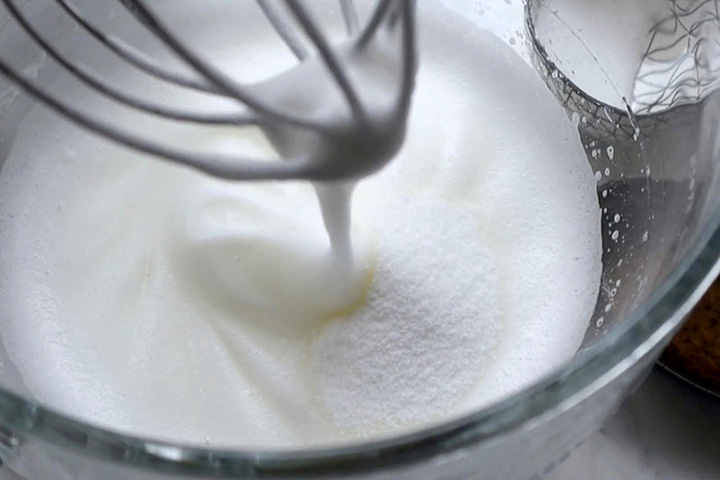
When you see big bubbles forming, add a third of the sugar then continue to beat on high speed.
When the foam becomes finer and silkier, you can add another third of the sugar and continue to beat on high speed.
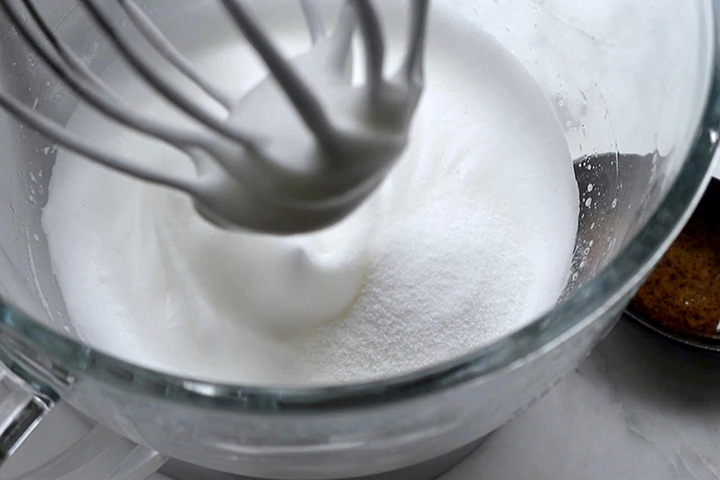
The foam will continue to get silkier, and you will start to see some texture lines/trails. At this point you can add the remaining sugar and beat on medium-high speed.
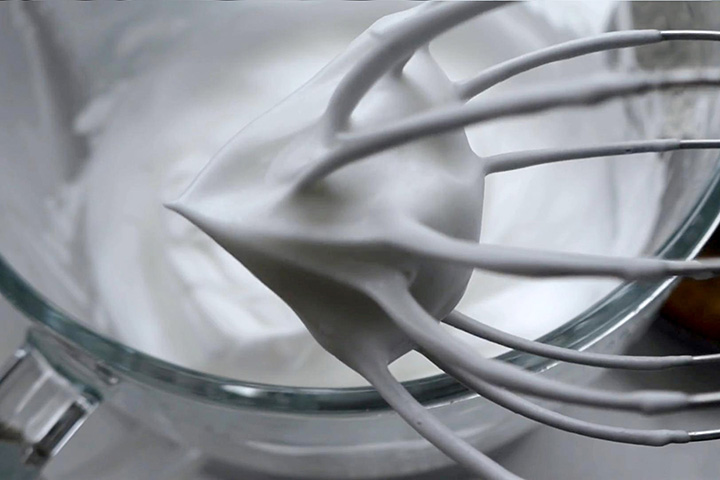
Continue beating until you see some stiff peaks. After lifting the whisk, the meringue is stable and firm, and the peak will not drip.
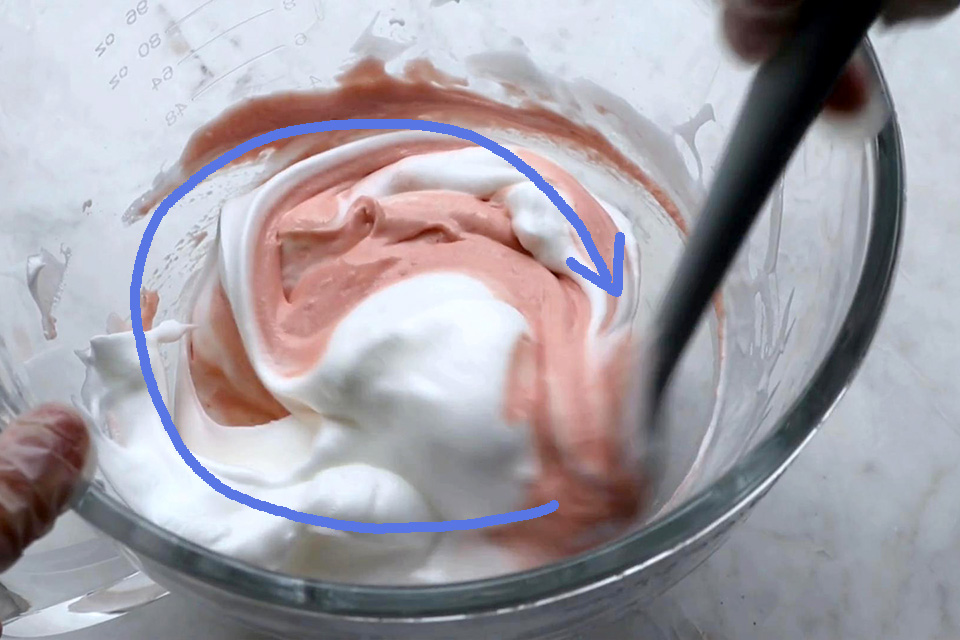
Scoop about one-third of the egg whites to the batter and fold it in gently. This is to lighten the batter initially and prepare it for the rest of the egg whites. The motion is like first draw a circle around the edge, then draw a straight line in the middle.
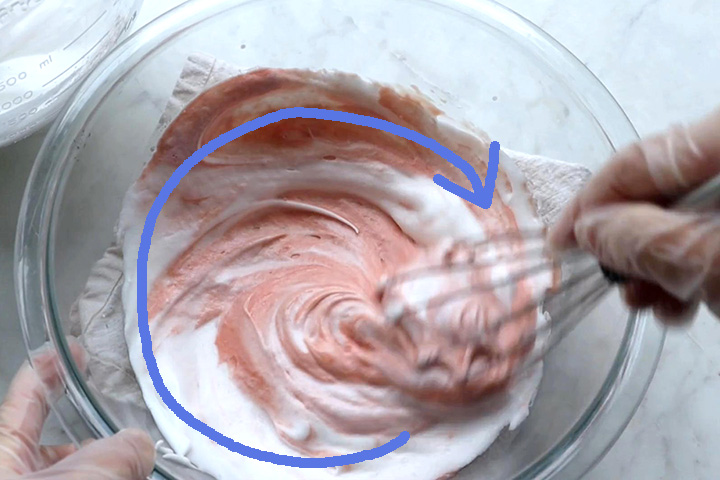

Once it’s mixed well, change to a spatula and pour it into the egg whites. Continue to fold gently until it’s all combined. Same motion: first draw a circle around the edge, then draw a straight line in the middle.
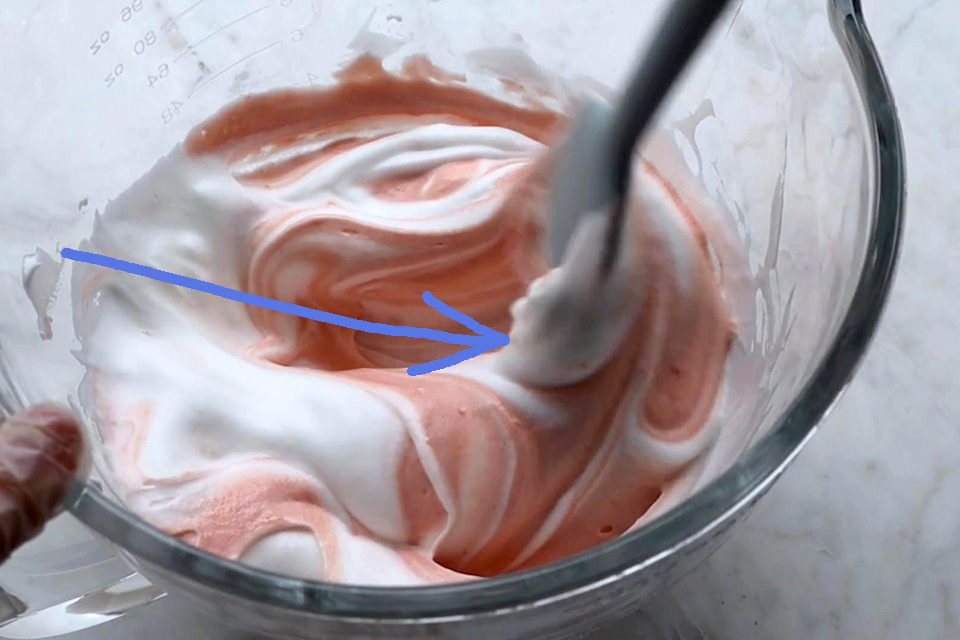
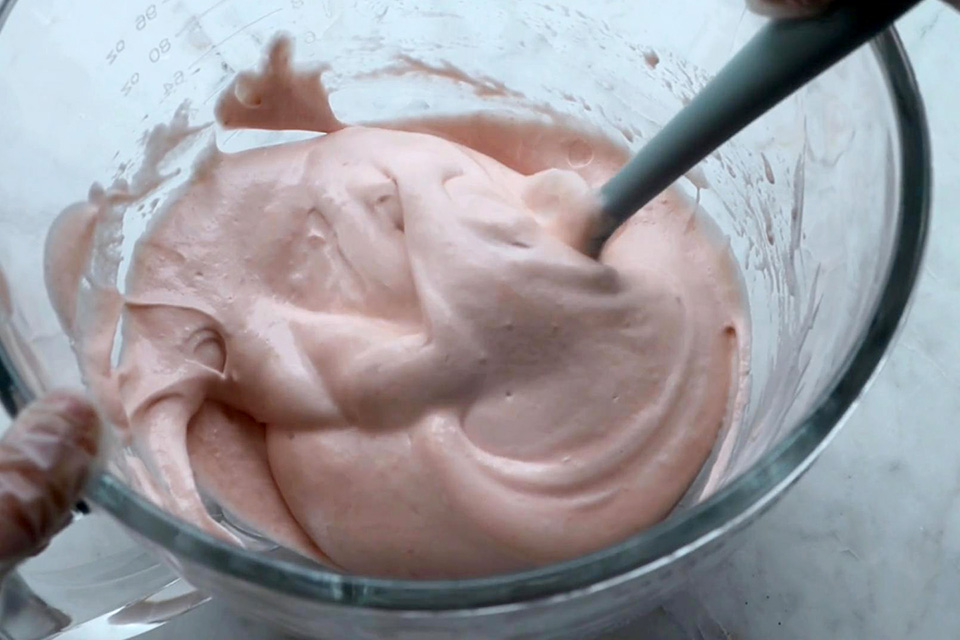
Repeat this movement until the batter is homogeneous. Don’t overdo it.
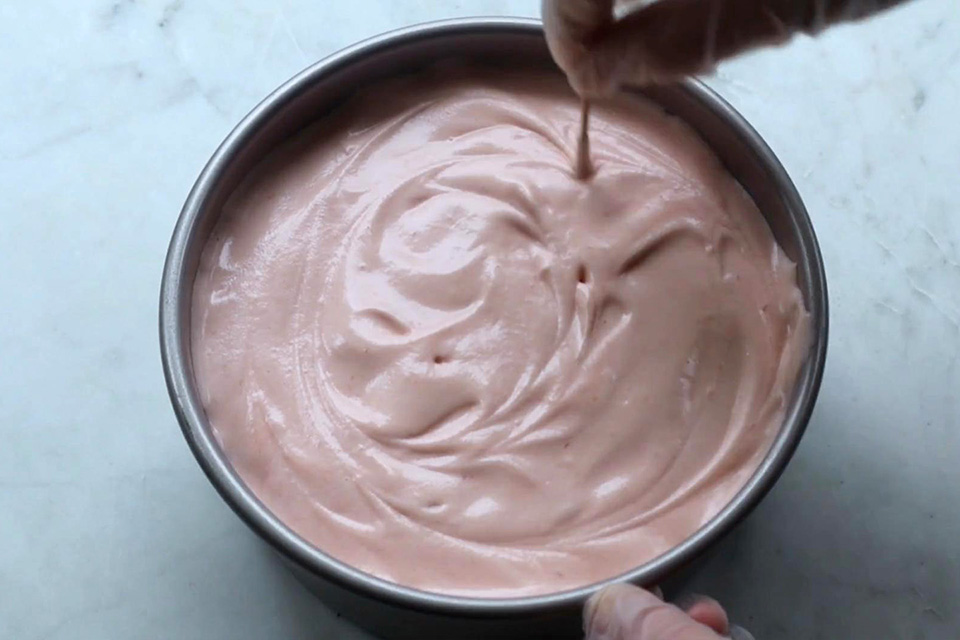
Transfer the batter to the pan immediately. Shake it, tap it a couple of times to get rid of the big bubbles, and draw a few circles with a toothpick to flatten the surface.
Place in the preheated oven and bake at 300°F (150°C) for 50 minutes.
Personally, I prefer to bake it at 300°F (150°C) for 40 minutes, then increase the temperature to 320°F (160°C) for 5 minutes. This is after a few testings with my oven as oven temperature varies.
If I just bake it at 300°F (150°C) for 50 minutes, even though it’s perfectly baked, the top of the cake will be a bit sticky after it’s cooled. So if you have the same problem, you can do the same switch.

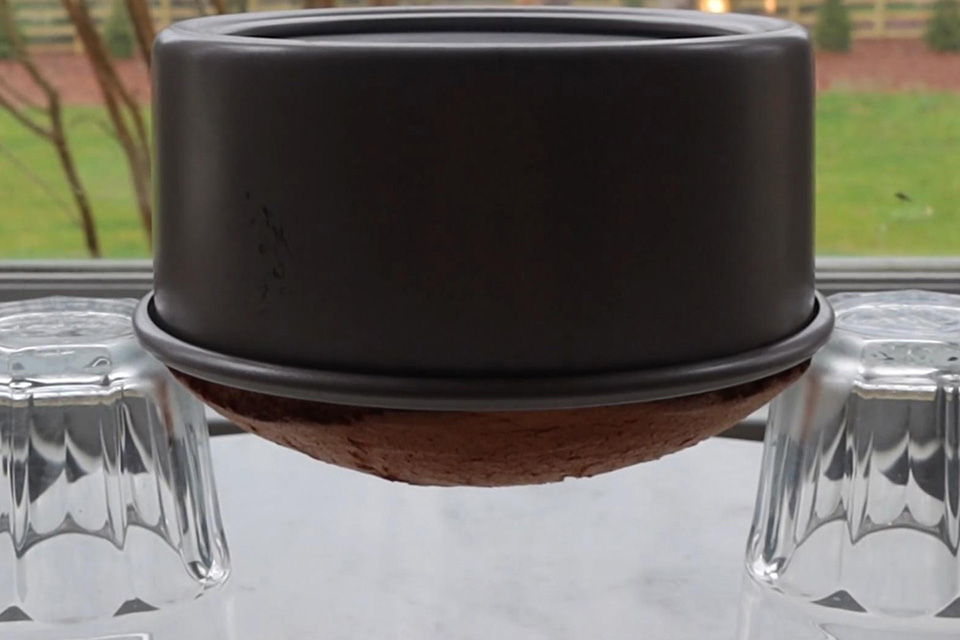
Once it’s out of the oven, tap it on the table once, then cool it upside down. It will take 2-3 (or longer) hours to cool completely.
Now that the cake is cool, remove it from the pan slowly, then slice it into 3 layers. Remember to flatten the top as well.


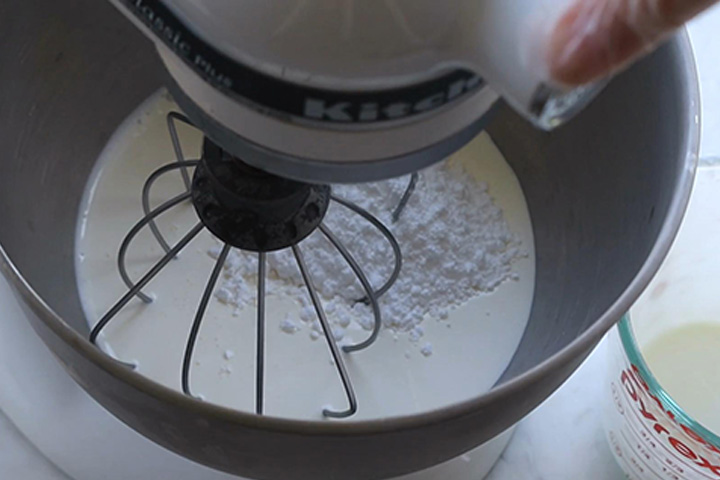
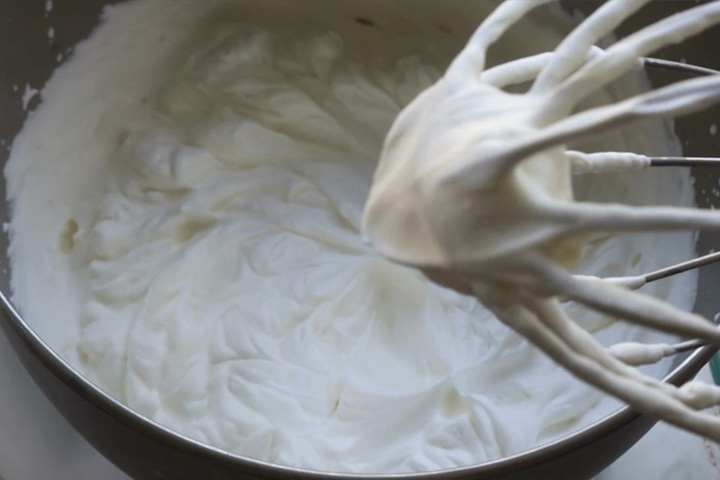
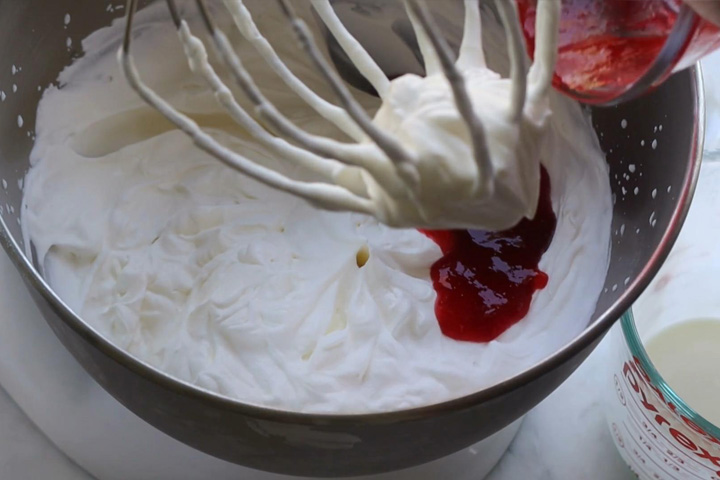
Let’s make the whipped cream frosting. Combine the heavy cream and powdered sugar in the mixing bowl, and whip on high speed until it thickens.
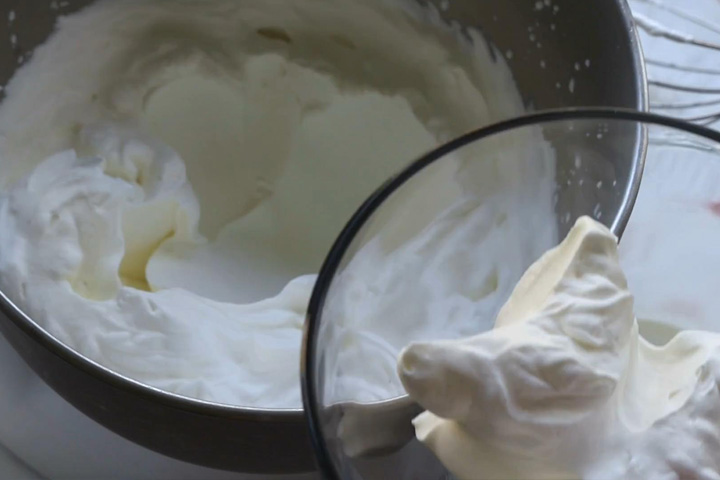
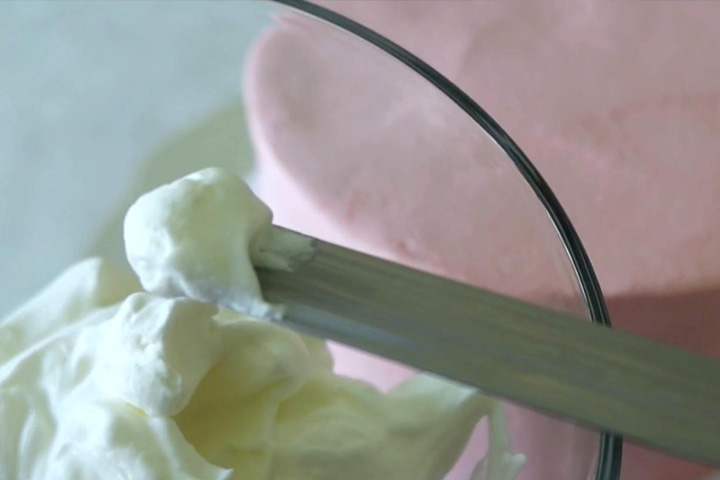
I’m going to scoop a little bit out and make the rest as raspberry whipped cream.
Now add the raspberry puree and give it a quick mix.
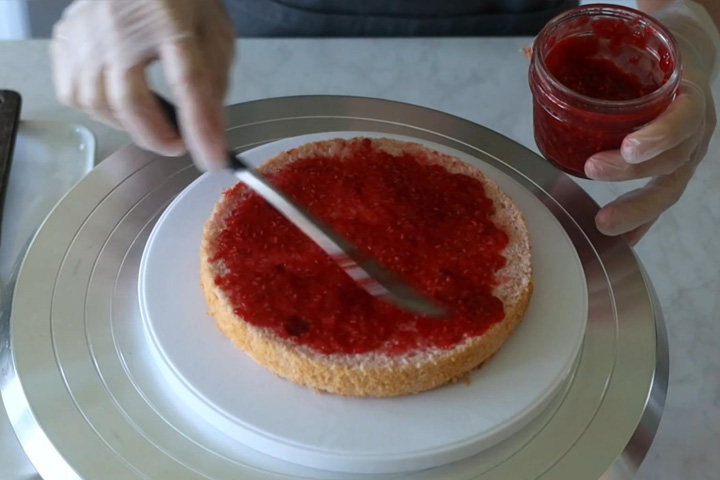
Let’s start decorating! Apply a little bit of cream at the bottom to secure the cake to the cake board.

Apply a layer of raspberry jam on it.
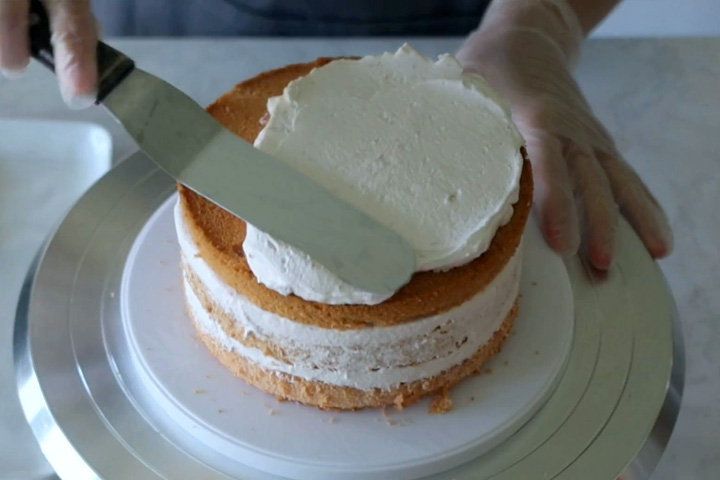
Now apply a layer of whipped cream frosting. You can also add some fresh raspberries in the layers if you like.

Repeat these steps for second layer.
The top layer is usually the bottom of the cake. This is because it’s usually the flattest part and will be easier to frost. Cover the entire cake with the whipped cream frosting.
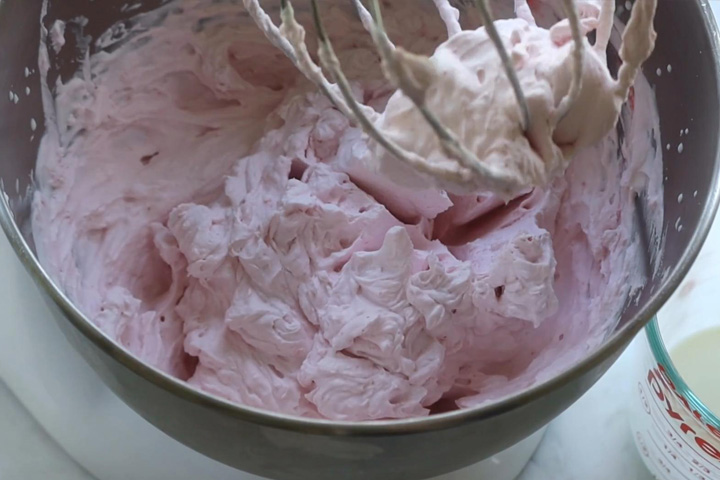
The raspberry cream doesn’t really have as much color in it as I thought it will be. So I’m going to add some red food coloring in it.
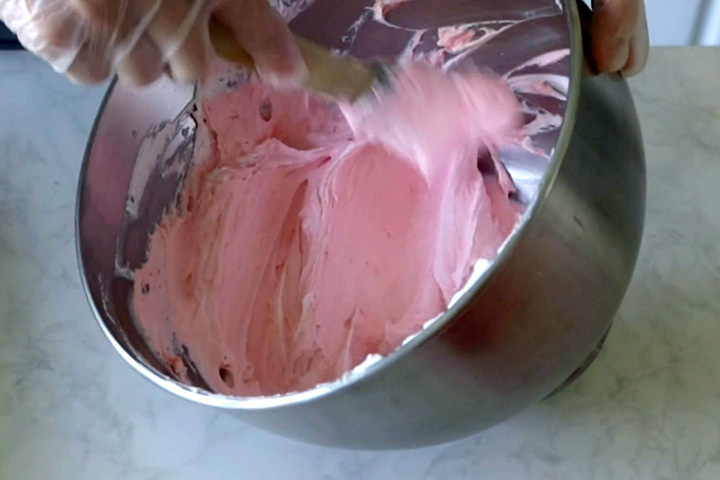
Now you see that just the raspberry puree alone won’t give you a nice pink color, you can go ahead and add the food color initially when you make the whipped cream.
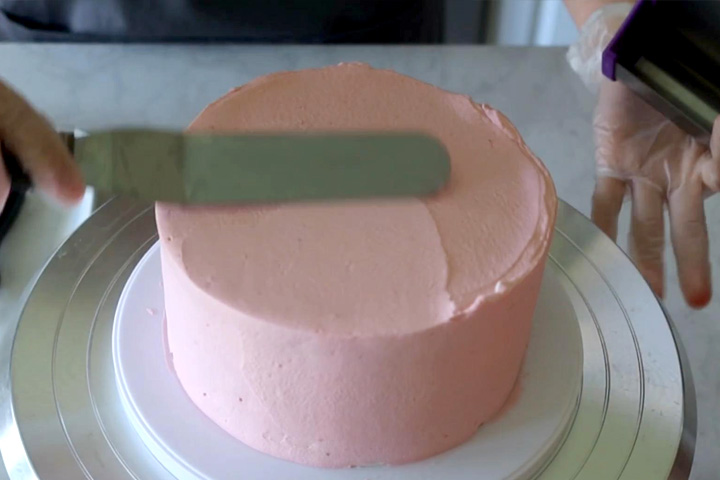
Cover the entire cake with the raspberry whipped cream. Smooth out the cream the best you can.
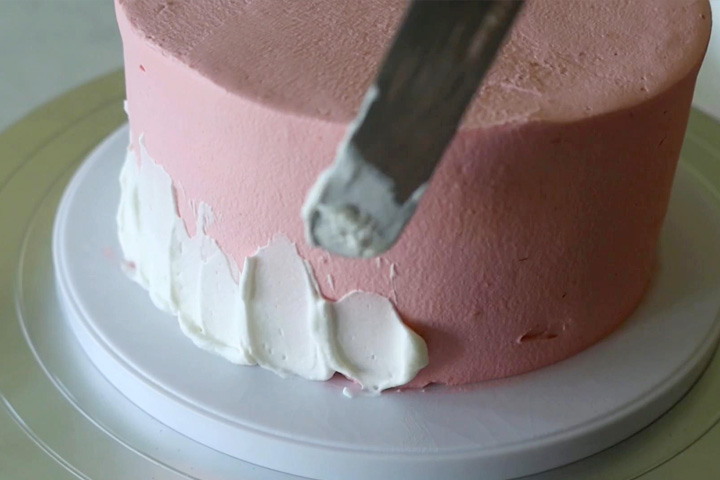
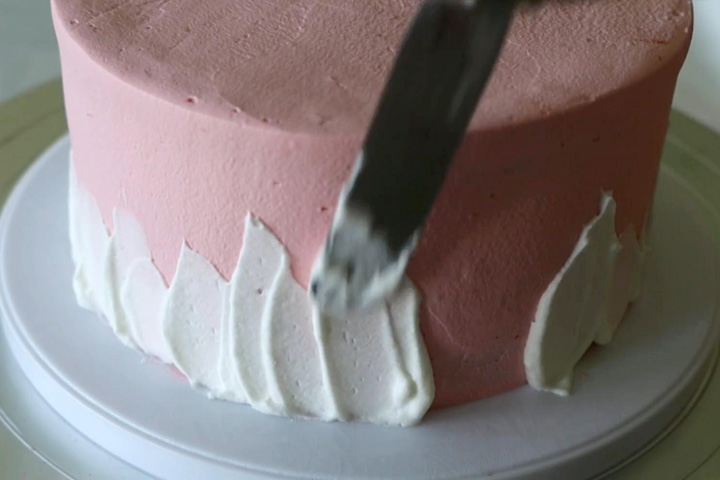
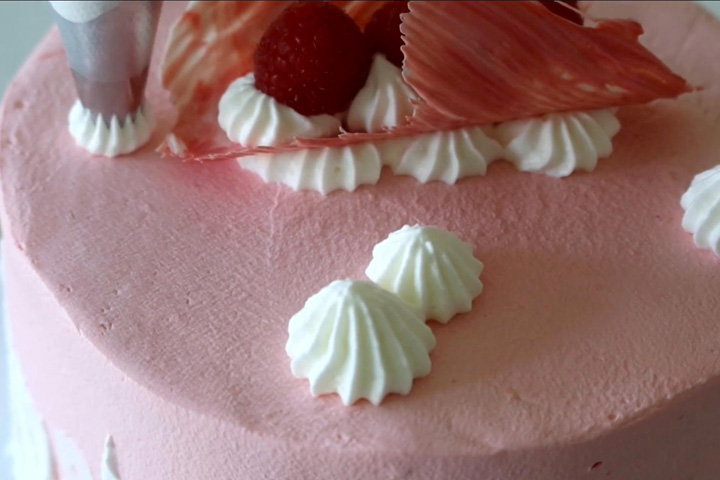
Now add some of the plain whipped cream on the side of the cake using a small spatula.
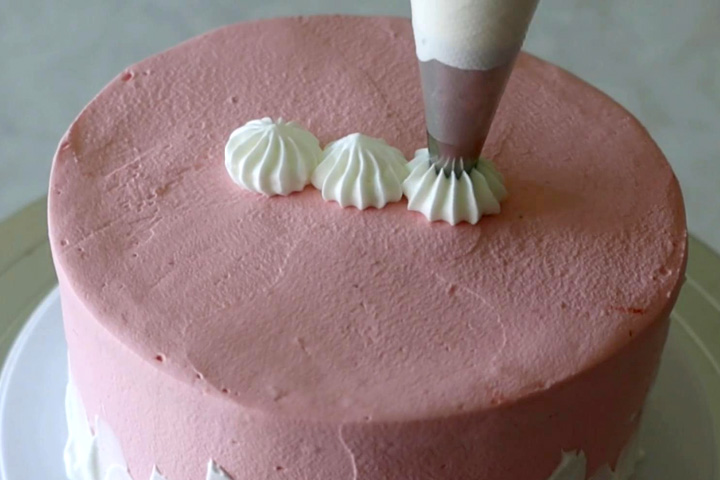
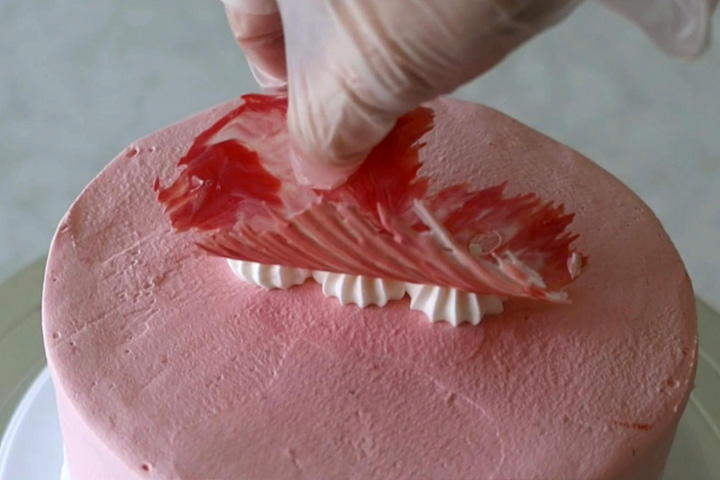
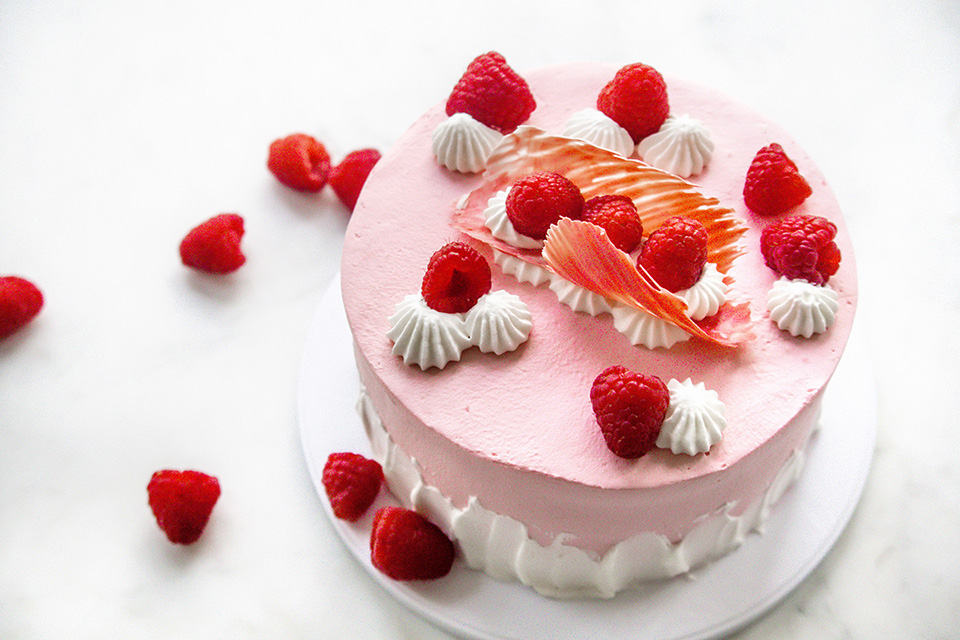
And for the finishing touch, add some plain whipped cream and raspberries randomly on the cake. As well as the “chocolate sail” I made earlier. The post for this “sail” can be seen here.
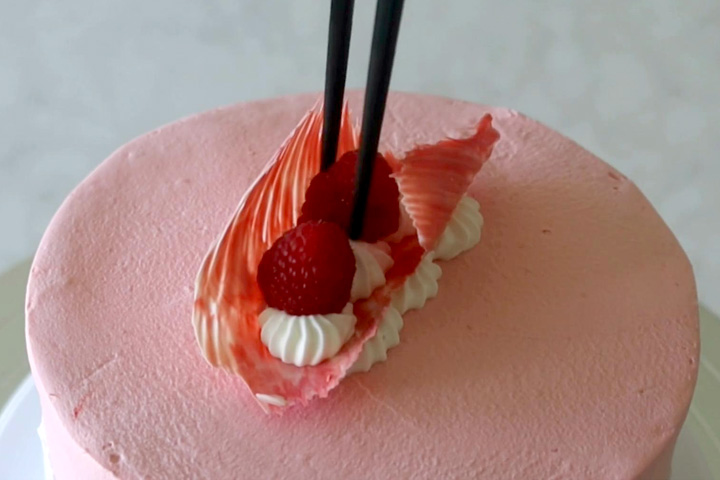
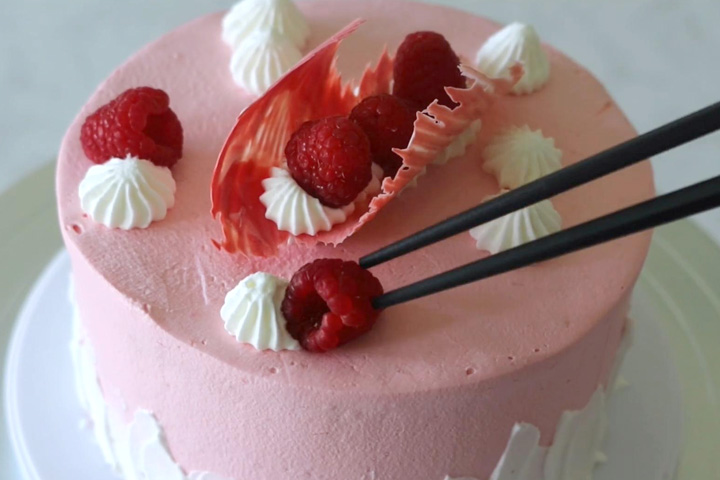
And this is now completed!
Ingredients (for a 6″ cake):
Egg yolk batter:
- 30g Raspberry puree
- 35g Veg. Oil
- 3 egg yolks
- 55g Cake flour
- 20g milk
Meringue:
- 3 egg whites
- 45g Sugar
- 1/2 tsp Cream of tartar or lemon juice
Whipped cream frosting:
- 40g Raspberry puree
- 2 cups heavy whipping cream
- 6 tablespoon powdered sugar
Cake Tutorial Video: